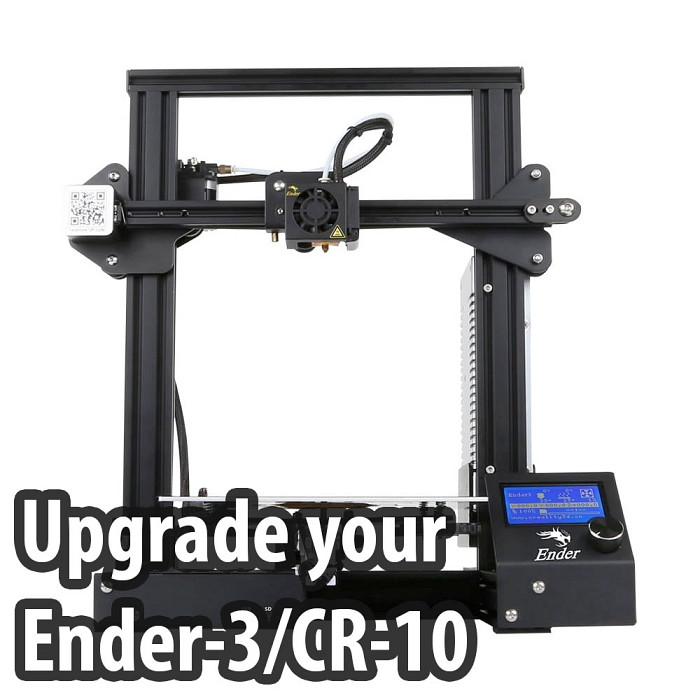
The Creality Ender 3 is well known in the 3D printing world: it is a low-cost 3D printer but which nevertheless offers a good quality of manufacture and quite decent services compared to the price tag.
However, it has some small flaws that it is fortunately possible to fix without exploding the budget!
Améliorer le refroidissement
The first upgrade to do, which only costs a few meters of filament, is the cooling of the part: https://www.thingiverse.com/thing:2759439
The "bullseye" version is perfect, it takes up less space in height and allows easier access to the print head.
To be printed in PETG taking into account the instructions given on the thingiverse link.
Use an updated slicer
The slicer is the software you use to convert STL files to GCODE. Whatever you use, it is important to update it regularly.
The Ender 3 is supplied with a relatively old version of Cura, significant progress has been made since then. Visit the Cura website to download the new version: https://ultimaker.com/software/ultimaker-cura
Then create a profile for the Ender 3 if you don't have one yet.
The function I prefer is the "Gyroid" filling which gives a more solid structure to the parts for the same filling rate! The other function is the adaptive layer height, which makes it possible to print more quickly by adapting the layer height according to the details to be printed.
Putting an end to noise
The Ender 3 is supplied with a mainboard with motor drivers welded directly on it. It is difficult to change them for silencers without professional welding equipment. Fortunately, the magic of Aliexpress is helping us!
You have two possibilities: the simple method and the more advanced method. Choose the one that corresponds to your DIY level.
Creality has released version 1.1.5 of its board, this one replaces directly the one provided with the Ender and CR10.
It is supplied with TMC drivers and allow you to put your TL-smoothers to trash as well as the dampers of your engines because silence is real! For 50€, the upgrade is worth it. Replacement is simple, just disconnect the old board and connect the new one to the same one! Don't forget to mark your cables and take a picture so you don't make mistakes when connecting.
The printing quality is also slightly better according to the testimonies.
https://s.click.aliexpress.com/e/BSyhtqmy
Another possibility: the SKR mini E3 board replaces the board provided with the Ender 3. Its assets are many:
- It is supplied with TMC2209 drivers, the quietest and most efficient drivers available today
- It has a 32-bit processor, which allows Marlin 2.0 to be used, and superior performance compared to the 8-bit base card, resulting in sharper prints, with less risk of burrs and the ability to print at higher speed without loss of quality
- The Stallguard technology of the TMC2209 allows you to do without enstops by wiring the drivers to the endstops input and adjusting Marlin to take this feature into account. This is optional but eliminates the risk of endstops failure
The modification is more complex even if Biqu provides the right firmware, if you want to take full advantage of TMC2209 and Marlin 2.0 optimizations, you will need to adapt your cabling and know how to modify the firmware configuration. But it's worth it.
Buy the BigTreeTech Mini E3 V2.0
Obtain better extrusion
The printing quality of the Ender 3 is good, but when printing details, small undercuts or extrusion defects are quickly noticed. This is due to a basic extruder and a medium quality print head.
One of Aliexpress' top sellers, known for the quality of the upgrades he provides, offers a complete upgrade kit for the Ender 3:
With this kit, you can replace the print head, PTFE tube and extruder in one step! (Be careful to choose the version corresponding to your power supply - 12 or 24V !)
If you only want to update the print head and not the extruder, it happens here : Buy upgraded print head only
If you are interested in the extruder, you will find it here : Buy upgraded extruder only


